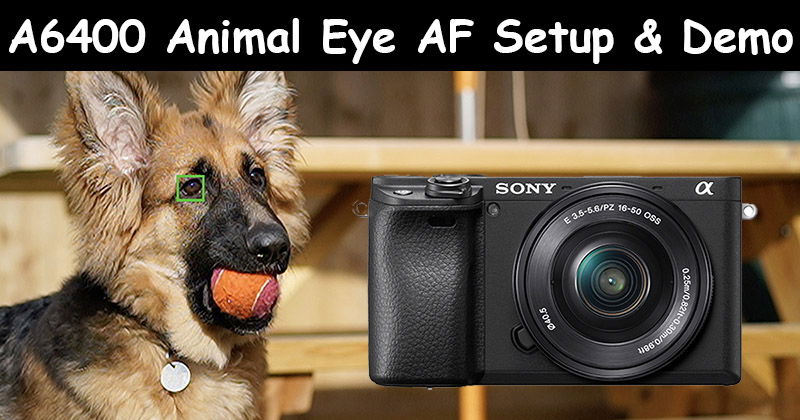
With firmware v2.00 the Sony a6400 now supports Animal Eye AF. In this guide I will explain how to setup Animal Eye AF with the a6400.
Sony A6400 Forum & Facebook Group
If you are looking for further help and advice on the A6400 or would simply like to share your photos and videos, then please head over to our friendly APS-C Forum. If you prefer Facebook then I also run the Sony a6400 Shooters Group.
Sony a6400 v2.00 Firmware Update
For Animal Eye AF to work with the Sony a6400 you will need firmware v2.00 or later installed on the a6400. You can download firmware v2.00 from the following Sony support sites or simply navigate to your local Sony support site.
US: (#afflinks) Sony a6400 Support Site
UK: (#afflinks) Sony a6400 Support Site
Sony A6400 Animal Eye AF Setup
If you prefer to watch videos then the following video will take you through the steps of setting up Animal Eye AF on the Sony a6400 and I also give a demo of it in use with my dog Frank. If you prefer to read or don’t like my face/voice then keep on scrolling down.
Setup Step 1. Check Firmware Version
First lets check the firmware version on your Sony a6400 to make sure it’s version 2.00 or higher. Hit the [Menu] button on the back of the a6400 and navigate to the [Setup7] menu page as shown below:
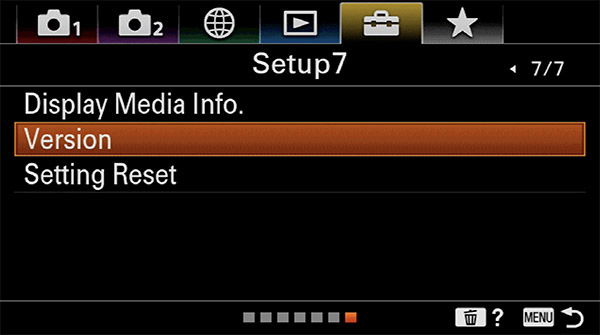
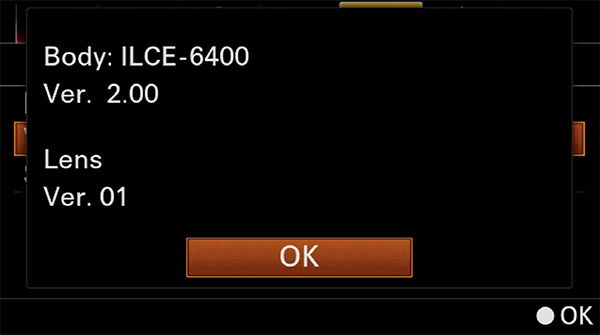
From here select [Version] and check that it says Ver. 2.00 for the body or higher. If it says Ver. 1.00 than you will need to update to Ver. 2.00 before you can enable Animal Eye AF (see firmware update above). If it says Ver. 2.00 that’s great!
Setup Step 2. Select AF-C Mode
Animal Eye AF will work in both AF-S (Single Shot) and AF-C (Continuous Shooting) focus modes. However for moving subjects I would strongly recommend using AF-C so that the camera automatically adjusts the focus as your subject moves. All you need to do is keep your finger half-pressed on the shutter button.
To change from AF-S to AF-C simply press the [Fn] button on the back on the camera then select the Focus Mode option which is normally the second option on the top row. In the below example it’s currently set to AF-S on my camera.
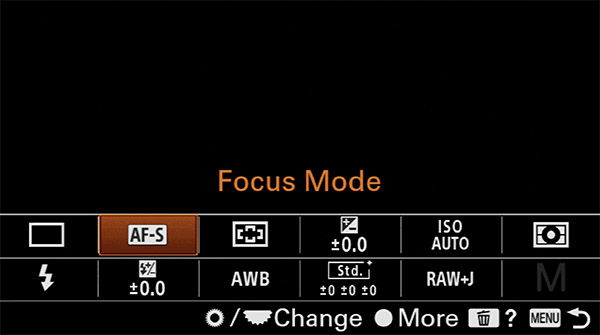
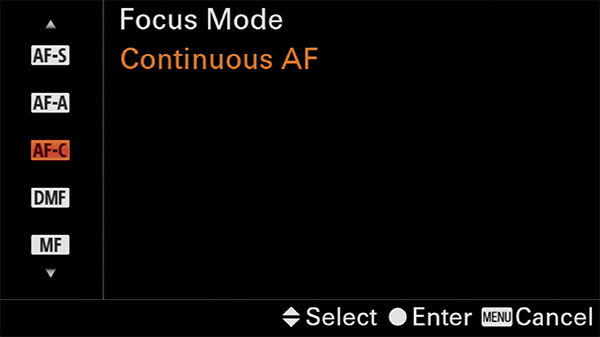
Simply change this to AF-C like shown below:
Setup Step 3. Enable Animal Eye AF
Now it’s time to enable Animal Eye AF. Because the a6400 is not able to simultaneously detect both human and animal eyes, you need to tell it whether you are shooting humans or animals.
The first step is to navigate in the menu to [Camera Settings 1] which is the top left menu. From here you need to move down and scroll across to page 6/14 which is titled [AF2]. On this page select the option [Face/Eye AF Set] as shown below:
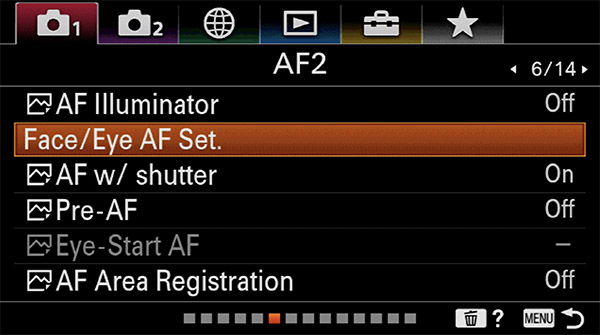
On the Face/Eye AF Set page check that the first menu option [Face/Eye Priority in AF] is set to [On]. It should be by default. If not, turn it on like shown below:
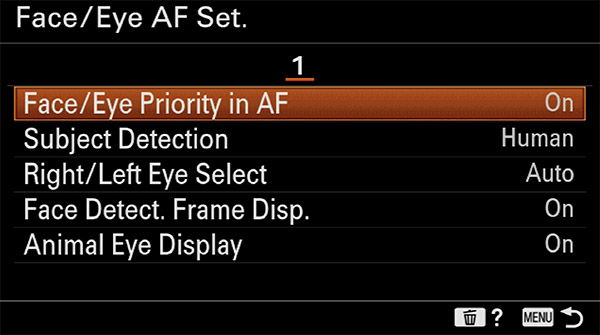
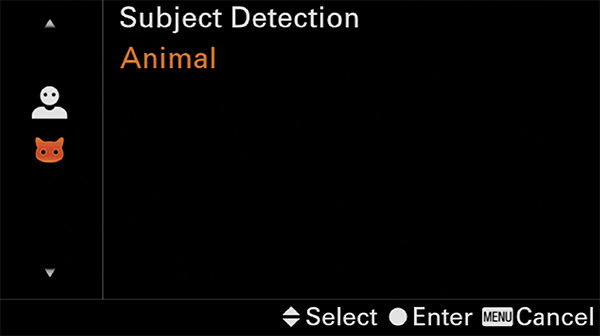
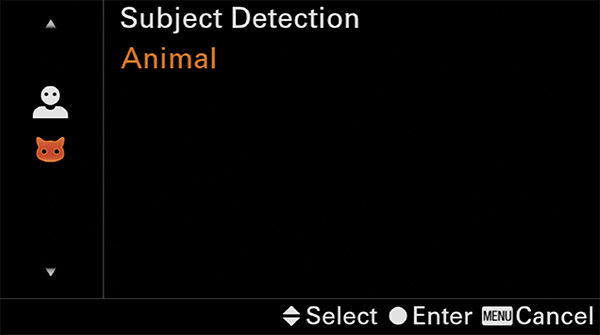
The next option in this menu is [Subject Detection]. By default this will be set to [Human]. When you want to shoot animals and make use of Eye AF then you will want to change this to [Animal] as shown below. If you select this now then you will be kicked out of the menu, but that’s fine as you are almost set to go!
Before I show you how to assign Human/Animal Eye AF selection to a custom button so that you don’t need to enter the menu every-time you want to change between human and animal subject, I’m just going to mention a couple of other options here. The first is [Right/Left Eye Select]. This works for humans and you can select which eye you would like to focus on or leave it as Auto. However, with Animal Eye AF the only option now is [Auto] so this is greyed out.
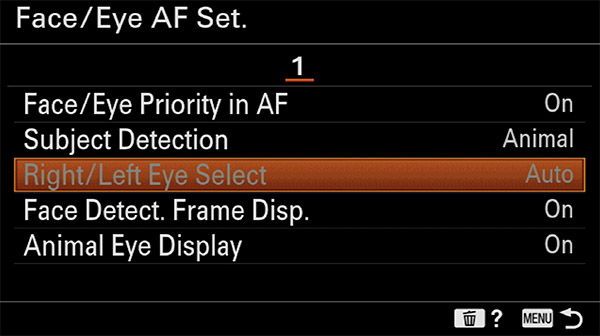
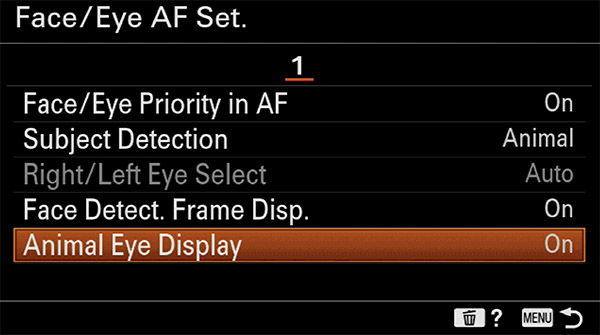
With Animal Eye AF enabled you will see a grey box as soon as the a6400 detects an eye, even before you focus. If you don’t wish to see this grey box then you can turn it off in the menu option as shown below. Personally I just leave it on.
Setup Step 4. Assign Subject Detection to a Custom Button
Now you most likely don’t want to drill down into the menu and go through the above steps each time you want to select between humans or animals. Therefore I’m going to show you how you can assign subject detection (human/animal) to a custom button that requires just a single click.
Hit the menu button on the back of the a6400 again and from the [Camera Settings 2] menu navigate to page 8/9 which is titled [Custom Operation1]. From here select the first menu option [Custom Key] for images as shown below:
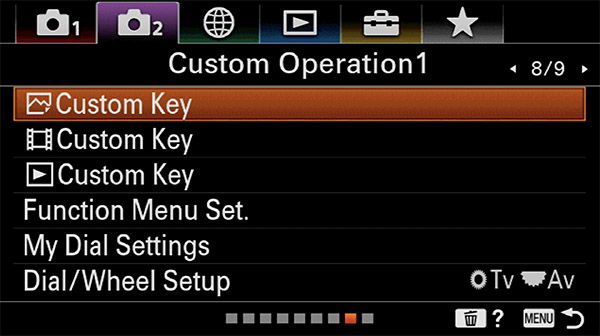
The a6400 has a number of programmable custom keys/buttons. So you can choose whichever one makes the most sense for you.
For this example I’m going to show you how to assign [Subject Detection] to the C1 button which is the one next to the shutter button.
In the custom key menu scroll across to page 3/4. You’ll see that Custom Button 1 is currently assigned to [Focus Mode] as shown below (unless you have changed it):
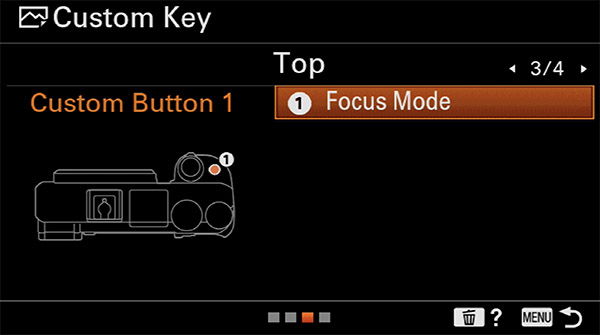
Simply click on Focus Mode which is what C1 is assigned to and on the next menu page you need to scroll to page 6/25 which is titled [AF3]. From here select the [Subject Detection] option as shown below:
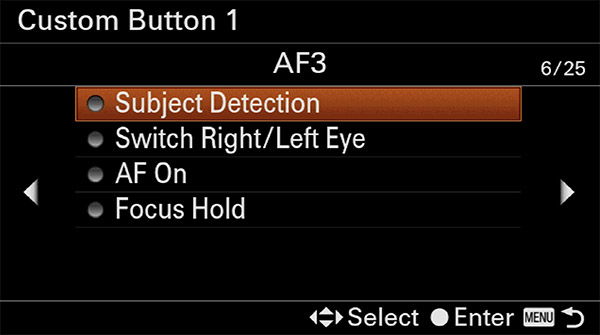
Now the C1 button should be programmed to [Subject Detection] as shown below:
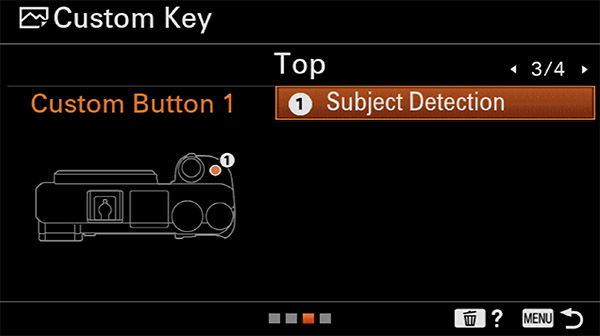
If this has worked correctly then now when you press the C1 button the screen to select between Human and Animal should be displayed, making it a lot quicker to switch between the two.
Animal Eye AF Tips
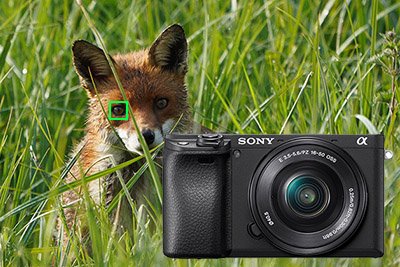
When your subject has a cat or dog like face and both eyes are clearly visible, the a6400 should easily detect the eyes. However, if the eyes are very dark and the surround area is also very dark then it may struggle. It also works best when both eyes are visible.
If your subject is moving very fast then eye af may also struggle to lock on. It certainly will not work very well with birds in flight at this early stage, however hopefully as the technology improves it will also be able to track the eyes of birds in flight which would be amazing.
Sony has provided some example of the types of animals that animal eye af works well on, along with those that it doesn’t, you can view these here.
Any Questions?
Just drop a comment below and I’ll do my best to help.







Timothy
Thank you for an excellent video of the animal eye focus firmware upgrade. I’m not currently a Sony user but I’m intrigued with this feature. I currently use fujifilm / olympus and photograph dogs part time for the local rescue. In your video when your dog was running toward you I noticed the in-focus indicator (green focus box) was only occasionally on. If you were shooting continuously during that portion or a similar portion, what would your keeper rate be? I’m assuming your using release priority and not focus priority shutter actuation.
Keep up the good work.
Rodger Coots
Ukiah California
Hi Rodger. It certainly is an interesting feature. I’d say right now this works best with slow moving animals (with cat/dog like faces). The keeper rate will vary greatly depending on the contrast between eyes and surrounding area. For Frank and the slow moving shots the keeper rate (with eye in focus) was around 90%, it really doesn’t miss too many. However for the fast action shots when he is running towards the camera it struggles more to lock on to the eyes, my keeper rate (with eyes in focus) was something like 20% here, although it would always hit the focus somewhere. Again this will vary greatly depending on the animal and the clarity of their eyes. I normally have the priority set to balanced. It’s still early days for animal eye af, but I expect Sony will be improving on this tech with firmware updates and new cameras. All the best, Tim